Hey there! If you're diving into the world of cryptocurrency for the first time, congrats on choosing a Trezor hardware wallet. As someone who's helped countless beginners navigate this exciting (and sometimes nerve-wracking) space, I can tell you that setting up your Trezor via Trezor.io/Start is one of the smartest moves for keeping your assets safe. I'm drawing from years of hands-on experience with hardware wallets, and this guide is all about making the process feel straightforward and reassuring.
We'll cover everything from downloading the Trezor Suite app to creating your wallet, handling that all-important recovery phrase, and even tips for managing altcoins or connecting to DeFi. By the end, you'll have a secure, mobile-friendly setup ready to go. Let's get started!
Before we jump in, a quick note on why Trezor stands out. Backed by the official Trezor team since 2014, it's a trusted name in hardware security. It lets you store seed phrases offline, manage a wide range of altcoins, and even connect to decentralized apps (dApps) for DeFi adventures—all while keeping your private keys safe from hackers. Perfect for beginners who want peace of mind without the tech headaches.
Head over to Trezor.io/Start to kick things off. This is your gateway to the Trezor Suite, the user-friendly software that pairs with your hardware device. The whole process takes about 15-20 minutes, and I'll walk you through it like we're doing it together.
For the smoothest experience, I recommend the desktop app—it's more secure and feature-rich. But if you're on the go, the web version works great too.
Pro Tip: Always download from the official site to avoid fakes. I've seen too many phishing scams—stick to trezor.io/start!
Grab your Trezor device (Model T or One—both work seamlessly). Connect it via USB to your computer. Trezor Suite will detect it automatically and prompt you to install the latest firmware. Just follow the on-screen instructions—it's like updating your phone, but way more important for security.
If you're new to this, don't worry: The app walks you through verifying the firmware signature to ensure it's legit. Takes just a couple of minutes.
Now the fun part—creating your wallet! In Trezor Suite, select "Create new wallet." You'll be guided to set a strong PIN (use at least 4-9 digits; mix it up for extra security). This PIN protects your device from physical access.
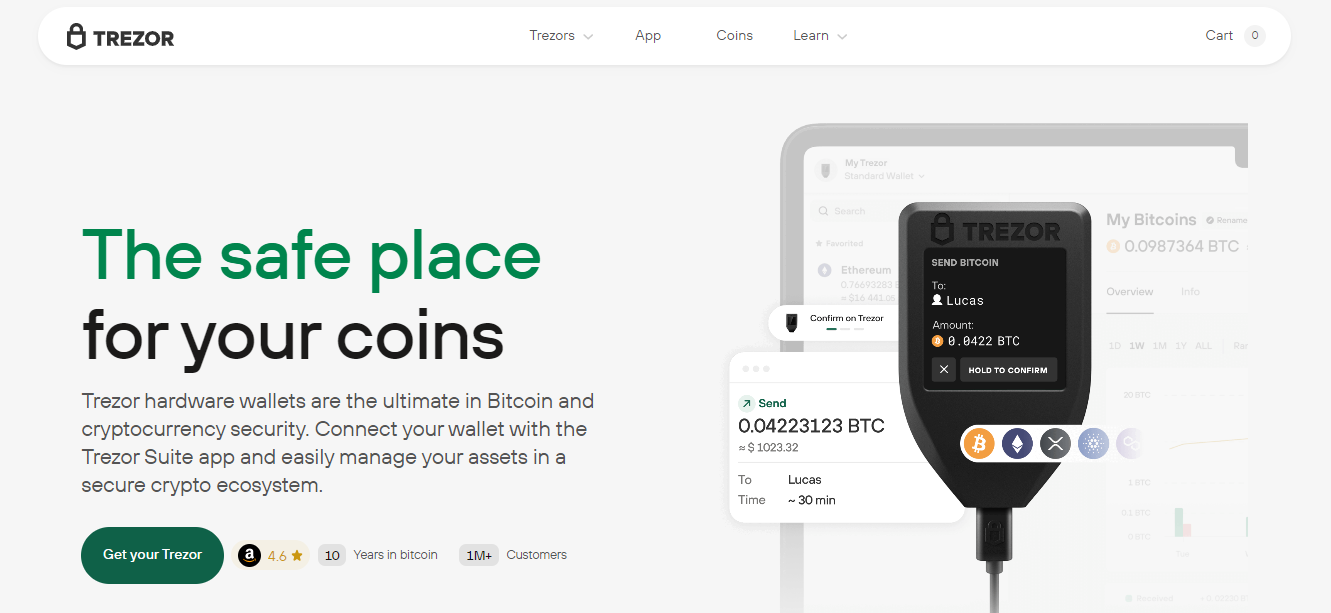
Your wallet is born! It supports thousands of altcoins out of the box, from Bitcoin to Ethereum and beyond. No more juggling multiple apps.
Ah, the recovery phrase (or seed phrase)—your wallet's ultimate backup. Trezor will display 12 or 24 random words on the device screen. Write them down exactly, in order, on the official recovery card. Never type them into a computer or phone.
For more on this, check Trezor's official guide on recovery seeds.
Your setup is complete! To move assets from an exchange (like Coinbase), generate a receive address in Trezor Suite for your chosen coin. Copy it, paste it into the exchange withdrawal, and confirm on your Trezor. Boom—your altcoins are now hardware-secured.
Want to level up? Connect to dApps for DeFi: In Suite, enable third-party integrations like MetaMask. It's a game-changer for earning yields without risking your keys.
Got an existing wallet? No sweat. Select "Recover wallet" in Suite, enter your seed phrase on the device (never digitally), and it'll import everything seamlessly. Just double-check your balances afterward.
Trezor doesn't have a standalone browser extension like some wallets, but it integrates beautifully with ones like MetaMask. Enable it in Suite under "Connect to third-party wallet" for easy dApp access. For mobile, use the web app on Chrome for Android/iOS.
If you hit a snag, Trezor's support is top-notch—check their help center or book a 1:1 expert session for guided setup.
While there's no native Trezor mobile app, open trezor.io/start in your phone's browser (Chrome recommended). Connect your device via USB-C adapter if needed, and follow the web setup. For full mobile access, sync with a software wallet like MetaMask.
Without it, recovering your wallet is impossible—that's the beauty (and responsibility) of seed security. Always store it offline and safely. If you've got your device but forgot the PIN, you can reset, but you'll need the seed to restore funds. Learn more at Trezor's recovery guide.
Absolutely! In Trezor Suite, choose "Recover wallet" and input your seed phrase directly on the device. It supports most standard 12/24-word phrases. Test with a small amount first to verify.
No dedicated extension, but Trezor connects seamlessly to browser-based dApps via Suite integrations. Enable Ethereum or other chains in the app, then link to tools like MetaMask for DeFi trading and staking.
Extremely—it's offline by design, so hacks can't touch your keys. I've used it for years to hold altcoins and interact with DeFi without issues. Always verify addresses and keep firmware updated.
You've got this! Setting up Trezor.io/Start is your ticket to worry-free crypto ownership. If you're feeling confident, grab your device and dive in. Questions? Drop them in the comments or hit up Trezor's community forums. Stay safe out there!
Disclaimer: This guide is for educational purposes. Crypto involves risks—always DYOR and secure your assets responsibly.